viking oven cleaning instructions
Viking Oven Cleaning Instructions: A Comprehensive Guide
Maintaining a Viking oven requires understanding its unique features and cleaning needs. This guide provides detailed instructions‚ covering self-cleaning cycles‚ manual methods‚ and preventative care‚ ensuring optimal performance and longevity.
Understanding Your Viking Oven
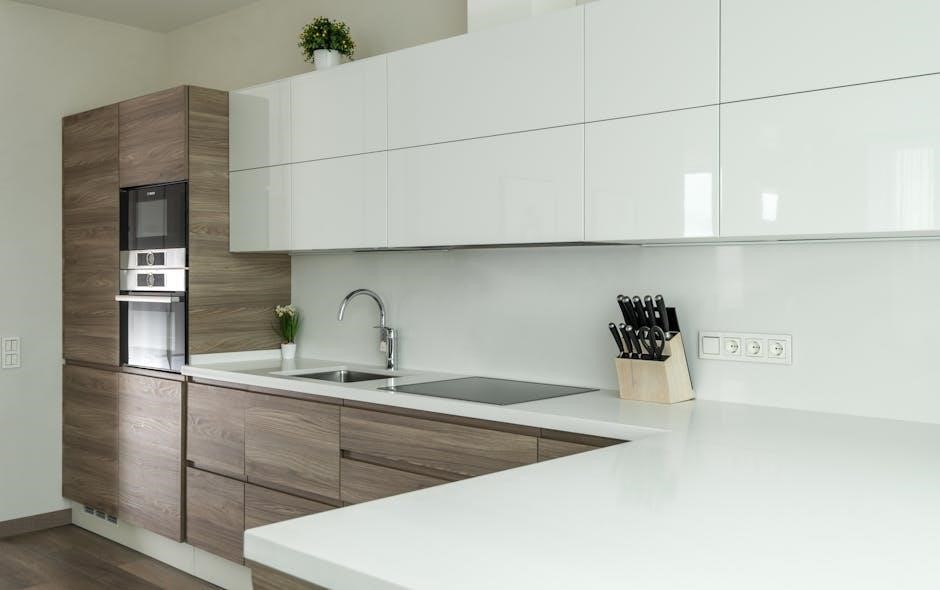
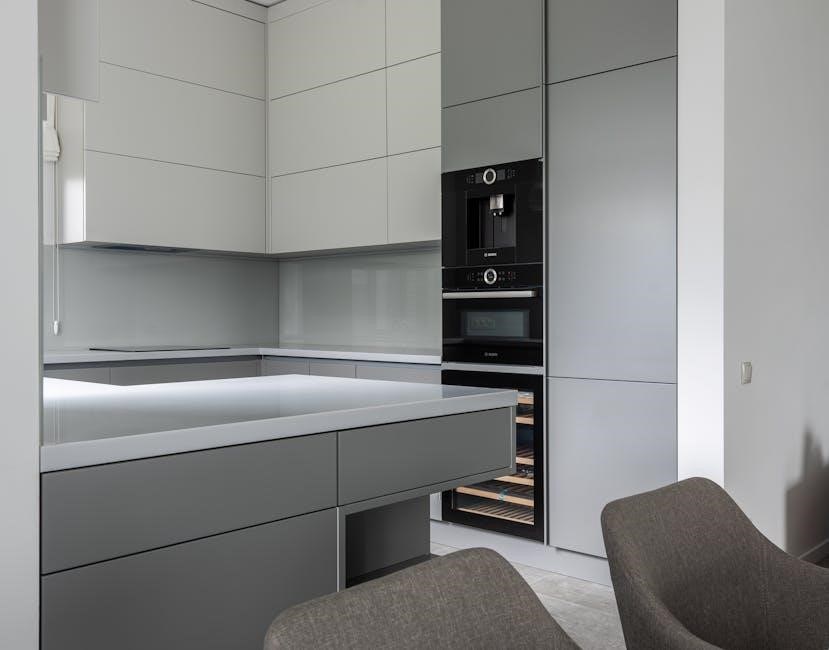
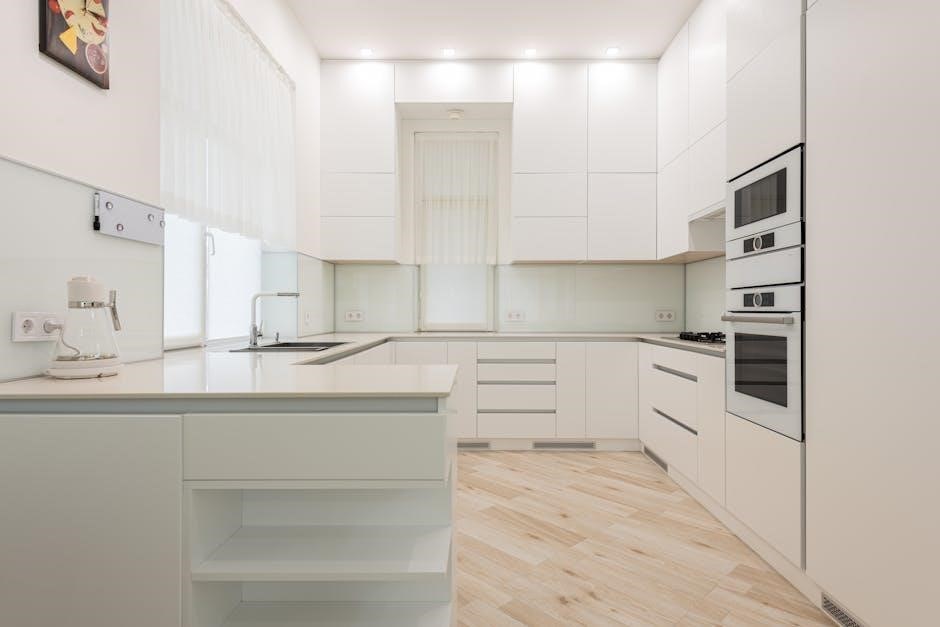
Viking ovens are renowned for their professional-grade performance and durability‚ but this also means they require specific care to maintain their pristine condition. Unlike standard ovens‚ Viking models often feature powerful burners‚ convection systems‚ and specialized interior finishes – all impacting cleaning approaches. Recognizing your oven’s specific model is crucial‚ as cleaning procedures can vary significantly.
Early self-cleaning oven technology‚ developed in the 1960s‚ aimed to simplify maintenance‚ though it’s sometimes met with debate. Modern Viking ovens frequently incorporate this feature‚ utilizing high temperatures to incinerate food residue. However‚ understanding how this cycle functions – and its potential impact on your oven – is paramount. Knowing the materials used in your oven’s construction‚ such as porcelain enamel or stainless steel‚ will guide your product choices.
Furthermore‚ familiarizing yourself with the oven’s components – racks‚ door‚ glass‚ and broiler pan – allows for targeted cleaning. Regular preventative measures‚ like wiping up spills immediately‚ can drastically reduce the need for intensive cleaning sessions. A proactive approach ensures your Viking oven continues to deliver exceptional cooking results for years to come.
Viking Oven Models and Cleaning Differences
Viking offers a diverse range of oven models‚ each with unique features influencing the optimal cleaning method. Professional series ovens‚ designed for high-volume cooking‚ often have heavier-duty components and may require more robust cleaning solutions. Conversely‚ Viking’s 30” and 36” standard ovens‚ while still powerful‚ may be more amenable to gentler cleaning approaches.
The presence – or absence – of a self-cleaning cycle is a primary differentiator. Models with this feature benefit from the high-temperature incineration process‚ but require careful preparation (detailed later). Those without rely entirely on manual cleaning‚ demanding more effort but offering greater control. Interior finishes also vary; some models feature porcelain enamel‚ while others utilize stainless steel‚ each requiring specific cleaning products to avoid damage.
Even within self-cleaning models‚ variations exist. Some utilize a traditional pyrolytic cycle‚ while others incorporate steam-clean options. Understanding your specific model’s capabilities‚ as outlined in the owner’s manual‚ is crucial. Ignoring these nuances can lead to ineffective cleaning or‚ worse‚ damage to your valuable Viking appliance. Always prioritize manufacturer recommendations for optimal results.
Self-Cleaning Cycle: How It Works
The self-cleaning cycle on a Viking oven‚ like most modern ovens‚ operates on the principle of pyrolytic cleaning. This involves heating the oven to extremely high temperatures – typically around 900-1000°F (482-538°C) – for a prolonged period‚ usually several hours. At these temperatures‚ food residue‚ grease splatters‚ and baked-on spills are reduced to ash.
This intense heat effectively carbonizes organic matter‚ leaving behind a fine‚ powdery residue that can be easily wiped away once the cycle completes and the oven has cooled. The cycle is fully automated‚ locking the oven door for safety during operation. Modern Viking ovens incorporate advanced sensors to monitor temperature and adjust the cycle duration as needed‚ optimizing efficiency and preventing overheating.
However‚ it’s important to understand that the self-cleaning cycle isn’t a magical solution. Heavily soiled ovens may require multiple cycles to achieve desired results. Furthermore‚ the process can generate odors‚ and it’s crucial to ensure adequate ventilation. The high temperatures also consume significant energy‚ so mindful usage is recommended.
Preparing for the Self-Cleaning Cycle
Before initiating the self-cleaning cycle on your Viking oven‚ thorough preparation is essential for both safety and optimal results; Begin by removing all oven racks‚ broiler pans‚ and any other cookware or accessories from the oven cavity. These items cannot withstand the extreme temperatures of the self-cleaning process and may become damaged or discolored.
Next‚ manually wipe up any large debris or excessive grease buildup from the oven floor. While the self-cleaning cycle is designed to handle baked-on residue‚ removing substantial amounts beforehand can reduce smoke and odor production. Ensure the oven door seals are clean and intact to maintain proper temperature control during the cycle.
It’s also advisable to open windows or turn on the kitchen exhaust fan to provide adequate ventilation‚ as the self-cleaning process can release odors. Finally‚ inform all household members that the self-cleaning cycle is in progress and to avoid disturbing the oven until it has completely cooled down and the door unlocks automatically;
Safety Precautions During Self-Cleaning
The self-cleaning cycle generates extremely high temperatures‚ demanding strict adherence to safety precautions. Never attempt to open the oven door during the cycle; the locking mechanism is designed to prevent access until the oven has cooled sufficiently. Keep children and pets away from the oven during operation‚ as the exterior surfaces become very hot.
Avoid touching the oven door or surrounding areas during and immediately after the cycle‚ as burns are a significant risk. Be mindful of potential odors released during self-cleaning; ensure adequate ventilation by opening windows or using an exhaust fan. Individuals with respiratory sensitivities should avoid prolonged exposure to these fumes.
Do not use oven cleaners or any other chemical cleaning products in conjunction with the self-cleaning cycle‚ as this can create hazardous fumes. If you notice any unusual smoke or burning smells‚ immediately turn off the oven and allow it to cool completely before investigating. Prioritize safety throughout the entire process.
Troubleshooting Self-Cleaning Issues
If the self-cleaning cycle fails to start‚ first verify the door is completely latched and the control panel is properly set. A power surge or interruption can also halt the process; ensure a stable power supply. If the cycle initiates but doesn’t reach high temperatures‚ a faulty heating element might be the culprit‚ requiring professional attention.
Persistent error codes displayed on the control panel necessitate consulting the Viking oven’s user manual for specific interpretations and recommended actions. Smoke or burning smells beyond the typical self-cleaning odor could indicate trapped debris or a malfunctioning component. A cycle that runs excessively long suggests a potential issue with the temperature sensor or control module.
If the oven door doesn’t unlock after the cycle completes‚ avoid forcing it open; allow additional cooling time. Contacting a qualified Viking appliance technician is crucial for diagnosing and resolving complex self-cleaning problems‚ ensuring safe and effective operation.
Manual Cleaning: When to Choose It
Opting for manual cleaning is advisable when dealing with spills or splatters that haven’t baked onto the oven’s surface‚ preventing them from becoming stubbornly carbonized. It’s also the preferred method for ovens with electronic components sensitive to the extreme heat of self-cleaning cycles‚ safeguarding their functionality. Furthermore‚ manual cleaning offers greater control‚ allowing targeted attention to specific areas needing immediate care.
If your Viking oven has recently undergone repairs‚ particularly involving the heating elements or control panel‚ manual cleaning minimizes the risk of further complications. Individuals sensitive to the fumes produced during self-cleaning‚ or those with respiratory concerns‚ will find manual cleaning a gentler alternative. It’s also beneficial for maintaining the oven’s finish‚ as harsh self-cleaning temperatures can sometimes cause discoloration.
Ultimately‚ manual cleaning provides a proactive approach to oven maintenance‚ preventing buildup and ensuring consistent cooking performance without relying solely on the intense self-cleaning process.
Recommended Cleaning Products for Viking Ovens
For effective Viking oven cleaning‚ prioritize products designed for high-performance appliances. Avoid abrasive cleaners‚ as they can damage the porcelain enamel interior. Instead‚ opt for a dedicated oven cleaner specifically formulated for stainless steel and enamel surfaces – always testing in an inconspicuous area first.
Gentle dish soap mixed with warm water is excellent for routine wipe-downs and removing light grease. Baking soda paste‚ created with water‚ serves as a natural abrasive for tackling baked-on food residue‚ requiring some elbow grease. Vinegar‚ diluted with water‚ effectively cuts through grime and mineral deposits‚ ideal for the oven door and racks.
Stainless steel polish maintains the exterior’s shine‚ while glass cleaner keeps the oven door sparkling. For stubborn stains‚ consider a specialized stainless steel cleaner or a paste of baking soda and hydrogen peroxide. Always ensure thorough rinsing after using any cleaning product‚ preventing residue buildup and maintaining food safety.
Cleaning the Oven Interior (Manual Method)
Begin by removing oven racks‚ broiler pan‚ and any loose debris. Create a cleaning solution of warm water and gentle dish soap‚ or a baking soda paste for tougher stains. Apply the solution generously to all interior surfaces‚ avoiding heating elements and gas ports. Let it sit for at least 20-30 minutes to loosen baked-on food.
Using a non-abrasive sponge or cloth‚ scrub the interior‚ focusing on heavily soiled areas. For stubborn residue‚ reapply the cleaning solution and allow it to dwell longer. A plastic scraper can gently dislodge baked-on food without damaging the enamel. Pay attention to the oven walls‚ floor‚ and ceiling‚ ensuring complete coverage.
Rinse thoroughly with clean water‚ removing all traces of the cleaning solution. A clean‚ damp cloth is ideal for this step. Dry the interior completely with a soft towel before replacing the racks and broiler pan. Regular manual cleaning prevents buildup and maintains optimal oven performance.
Cleaning the Oven Door
Start by ensuring the oven door is cool to the touch. Use a mild dish soap solution or a specialized glass cleaner designed for ovens. Avoid abrasive cleaners‚ as they can scratch the glass surface. Apply the cleaner to a soft microfiber cloth and gently wipe down the entire door‚ both inside and out.
Pay close attention to areas with splatters or baked-on residue. For stubborn stains‚ create a paste of baking soda and water‚ apply it to the affected area‚ let it sit for 15-20 minutes‚ and then gently scrub with a non-abrasive sponge. Rinse thoroughly with clean water and dry with a clean microfiber cloth.
If your Viking oven has a removable door panel‚ consult your owner’s manual for specific instructions on how to safely remove and clean it. Regular cleaning prevents buildup and maintains the door’s clarity. Inspect the door seals for damage and clean them to ensure a proper seal during cooking.
Cleaning the Oven Racks
Begin by removing the oven racks and soaking them in a solution of hot water and dish soap. For heavily soiled racks‚ add ½ cup of baking soda to the water and let them soak overnight; This helps loosen baked-on food particles‚ making scrubbing easier.
After soaking‚ use a non-abrasive scrub brush or sponge to remove any remaining residue. Avoid using steel wool or harsh scouring pads‚ as these can damage the rack’s finish. Rinse the racks thoroughly with clean water to remove all traces of soap and baking soda.
For particularly stubborn stains‚ create a paste of baking soda and water and apply it directly to the affected areas. Let it sit for 30 minutes before scrubbing. Dry the racks completely with a clean towel before placing them back into the oven. Regular cleaning prevents buildup and ensures even heat distribution.
Cleaning the Oven Glass
Maintaining a clear view of your oven’s interior requires regular cleaning of the oven glass. Start by ensuring the oven is cool to the touch. A simple solution of warm water and dish soap often suffices for light cleaning; apply with a soft cloth and wipe thoroughly.
For baked-on splatters and grease‚ a paste of baking soda and water is highly effective. Apply the paste to the glass‚ let it sit for 15-20 minutes to loosen the grime‚ then gently scrub with a non-abrasive sponge or cloth. Avoid using abrasive cleaners‚ as they can scratch the glass.
Rinse the glass thoroughly with clean water and dry with a microfiber cloth to prevent streaks. For extremely stubborn residue‚ a commercial oven glass cleaner can be used‚ following the manufacturer’s instructions carefully. Consistent cleaning prevents buildup and maintains visibility during cooking.
Cleaning the Broiler Pan
The broiler pan accumulates grease and food particles quickly‚ demanding frequent cleaning. Allow the pan to cool completely before handling. Begin by removing any large debris. For light cleaning‚ hot‚ soapy water and a non-abrasive sponge are usually sufficient; scrub thoroughly to remove grease.
For heavily soiled pans‚ a baking soda paste can work wonders. Apply a generous layer‚ let it sit for several hours‚ or even overnight‚ to loosen baked-on residue. Then‚ scrub vigorously with a sponge or brush. Alternatively‚ a commercial oven cleaner‚ specifically designed for broiler pans‚ can be used‚ following label directions precisely.
Rinse the pan thoroughly with hot water‚ ensuring all traces of cleaner are removed. A dishwasher is often suitable for broiler pans‚ but check your Viking oven’s manual for specific recommendations. Regular cleaning prevents smoke and odors during future broiling.

Steam Cleaning: A Gentle Alternative
Steam cleaning offers a milder approach to oven maintenance‚ ideal for light soiling and reducing reliance on harsh chemicals. Begin by removing racks and any loose debris from the oven interior. Pour approximately two cups of water into an oven-safe dish or baking pan.
Place the dish on the bottom rack of the oven. Set the oven to a low temperature‚ typically around 200-250°F (93-121°C)‚ and allow the water to simmer for 20-30 minutes. The steam will loosen grime and baked-on food particles‚ making them easier to wipe away.
After steaming‚ turn off the oven and let it cool slightly before carefully wiping down the interior surfaces with a soft cloth or sponge. For stubborn spots‚ a paste of baking soda and water can be applied before wiping. Steam cleaning is particularly effective for freshening the oven and minimizing odors‚ providing a gentler cleaning experience.
Preventative Measures to Reduce Cleaning Frequency
Minimizing oven mess begins with proactive habits during cooking. Utilize oven liners or baking sheets to catch drips and spills‚ preventing them from baking onto the oven floor. Regularly wipe up spills immediately‚ while the oven is cool‚ to avoid stubborn buildup. Consider using covered baking dishes to contain splatters and prevent food from spreading.
Avoid placing aluminum foil directly on the oven floor‚ as it can trap heat and damage the enamel coating. Instead‚ use it to line baking sheets. When cooking particularly messy dishes‚ consider a lower oven rack position to contain potential splatters. Regularly inspect door seals for damage and replace them if necessary‚ ensuring efficient heat retention and preventing food particles from lodging within.
Consistent small efforts significantly reduce the need for intensive cleaning‚ preserving your Viking oven’s pristine condition and extending its lifespan. A little prevention goes a long way!
Dealing with Stubborn Stains
For baked-on residue that resists standard cleaning‚ create a paste of baking soda and water. Apply generously to the affected areas‚ covering the stain completely. Allow the paste to sit for several hours‚ or even overnight‚ to loosen the debris. Gently scrub with a non-abrasive sponge or cloth‚ avoiding harsh scouring pads that can damage the oven’s surface.
Alternatively‚ a mixture of vinegar and water can be effective. Spray the solution onto the stain‚ let it sit for 30 minutes‚ and then wipe clean. For particularly tough stains‚ consider a commercial oven cleaner specifically designed for Viking ovens‚ following the manufacturer’s instructions carefully. Always test any cleaning solution in an inconspicuous area first.
Persistent discoloration may require repeated applications. Patience is key! Remember to thoroughly rinse the oven interior after using any cleaning agent to remove residue and ensure food safety.
Professional Viking Oven Cleaning Services
When DIY methods prove insufficient‚ or for those preferring a hands-off approach‚ professional Viking oven cleaning services offer a comprehensive solution. These services employ trained technicians familiar with the intricacies of Viking appliances‚ ensuring a thorough and safe cleaning process.
Professionals utilize specialized equipment and cleaning agents designed to tackle stubborn baked-on residue and grease without damaging the oven’s delicate finishes. They can disassemble components for deep cleaning‚ reaching areas inaccessible during standard home cleaning. This includes cleaning the racks‚ broiler pan‚ and oven door thoroughly.
Benefits include time savings‚ guaranteed results‚ and peace of mind knowing your oven is cleaned to the highest standards. Research local providers‚ check reviews‚ and inquire about their experience with Viking ovens specifically. Expect costs to vary based on oven size and the extent of cleaning required.
Is your Viking oven looking a little worse for wear? Don’t sweat it! Our simple, step-by-step Viking oven cleaning instructions will have it shining like new in no time. Get started now!